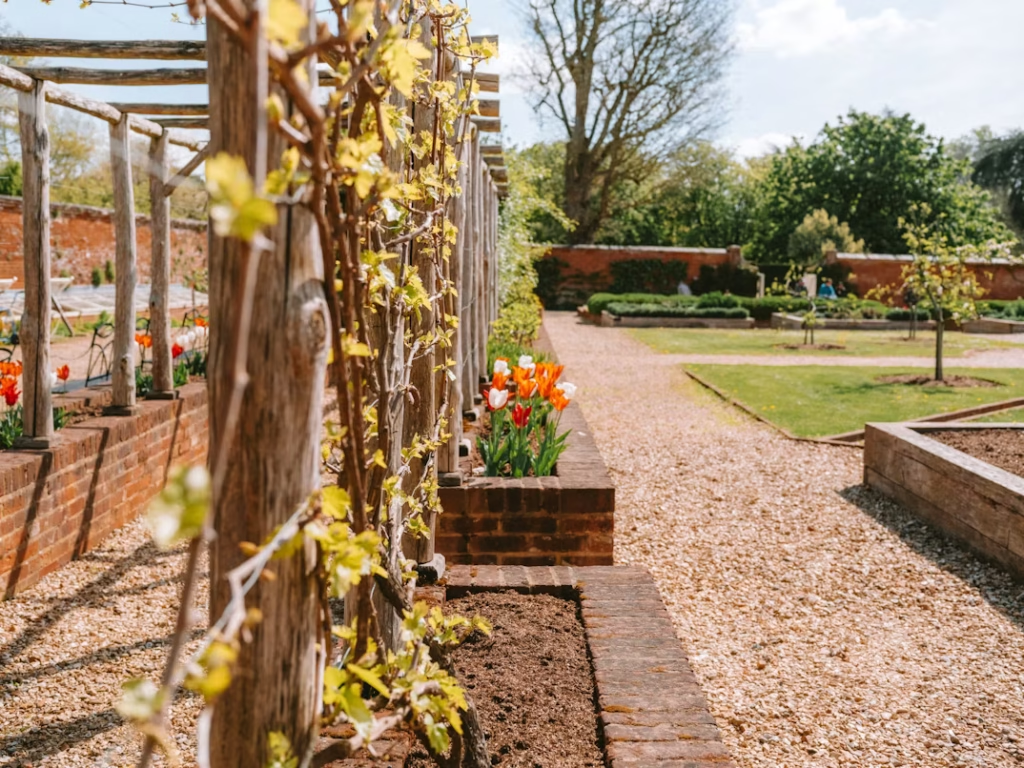
The standard 4×8 foot raised bed is the holy grail of backyard gardening. It is small enough to manage without feeling overwhelmed, yet large enough to provide a significant harvest. You can reach the center from either side, so you never have to step on the soil, and it fits perfectly into standard spacing with a 2-foot wide path on either side.
However, many gardeners make the mistake of building this bed like a temporary sandbox. They use thin untreated pine that bows outward after one season and rots completely by year three. If you want a garden infrastructure that lasts ten years or more, you have to stop viewing the bed as a container and start viewing it as a long-term structure.
Here is the definitive guide to building a 4×8 raised bed that will stand the test of time.
Step 1: Selecting the Right Lumber
The wood you choose is the single most important factor in longevity. You need wood that can withstand constant contact with wet soil without crumbling.
Option A: Cedar (The Gold Standard) Cedar is naturally resistant to rot and insects due to natural oils present in the wood. It is beautiful, lightweight, and smells incredible.
- Longevity: 10–15 years.
- The Trade-off: It is expensive. However, if you want a bed that lasts a decade without chemical treatments, cedar is the best choice.
- Buying Tip: Look for “common grade” or “knotty” cedar to save money. Since you are painting it or letting it gray, you don’t need premium clear lumber.
Option B: Redwood Similar to cedar, redwood contains tannins that resist rot. It is generally found on the West Coast.
- Longevity: 15–20 years.
- The Trade-off: Very expensive and can be difficult to source in some regions.
Option C: Juniper or Black Locust If you can find it, these domestic hardwoods are incredibly durable—often outlasting cedar.
- Longevity: 20+ years.
- The Trade-off: Harder to work with (sawing/drilling takes effort) and harder to find commercially.
What About Pressure-Treated Wood? Modern pressure-treated lumber (labeled for “ground contact”) is safe for vegetable gardens. The old arsenic-based treatments were banned in 2003. The new copper-based treatments are effective.
- Longevity: 20+ years.
- The Trade-off: Many organic gardeners prefer to avoid it. If you choose this route, buy “Ground Contact” rated wood, not “Above Ground.” The above-ground grade will rot quickly if sitting in wet soil.
Step 2: Understanding the Board Dimensions
Do not use standard “2×6” or “2×8” boards for the sides if you want depth. They are simply too narrow for good root growth.
- The Recommendation: Use 2×12″ lumber. This gives you a finished height of roughly 11.25 inches (since lumber is dried and planed down). This is the ideal depth for almost all vegetables, including carrots and tomatoes.
- The Corners: Use 4×4″ posts for the corner posts. This anchors the bed and allows you to screw the long sideboards into the post, rather than trying to screw two thin boards together (which eventually splits).
Step 3: Hardware That Won’t Rust
Many raised beds fail because the nails or screws rust away before the wood does. Once the metal gives out, the bow of the soil pushes the sides outward, and the bed collapses.
- The Material: Use Exterior-grade structural screws or Galvanized/deck screws.
- The Specifics: Do not use drywall screws or indoor wood screws. Look for screws labeled GRK or Star-drive. They have aggressive threads that bite into the wood and won’t snap under the pressure of wet soil.
- Length: If you are attaching 2×12 boards to a 4×4 corner post, you need screws that are at least 3 to 3.5 inches long.
Step 4: The Cutting and Assembly Guide
A standard 4×8 bed is actually slightly complex to build because lumber lengths fluctuate. A “2x6x8” board is often 8 feet long, but a “2×12” board can sometimes be slightly longer or shorter. Always measure your lumber before cutting.
The Cut List (for a 4×8 Bed):
- Corner Posts: 1 piece of 4×4 lumber cut into 4 equal lengths of 16 inches each. (The post sits 4 inches below ground for stability, leaving 12 inches above ground).
- Long Sides: 2 pieces of 2×12 lumber cut to 8 feet long (or cut to fit your specific space if it’s tight).
- Short Ends: 2 pieces of 2×12 lumber cut to 4 feet long (or cut to 44 inches if you want the total outside width to be exactly 48 inches).
The Assembly Process:
- Build the Ends: Take two 4×4 corner posts and stand them up. Place one “Short End” board between them. Ensure the ends of the board are flush with the outside edge of the 4×4. Drill pilot holes (crucial to prevent splitting) and drive 3 screws through the board into the post. Repeat for the other end.
- Connect the Sides: Now you have two “walls.” Stand them up where you want the bed to be. Place one “Long Side” board against the 4x4s. Clamp it if you have one. Screw it into the posts.
- Square the Frame: Before adding the second long board, measure diagonally from corner to corner in both directions. If the measurements are the same, the bed is square. If not, push the corners until they match.
- Finish the Sides: Attach the second Long Side board. Then, attach the second Short End board. You now have a box.
Step 5: The Secret to 10-Year Durability (Reinforcement)
Soil is incredibly heavy, especially when wet. A 4×8 bed filled with soil weighs nearly 2,000 pounds. Over time, this weight will push the sides outward, causing the screws to snap or the wood to bow.
The Fix: Use a “Cinch” Strap or Cross-Brace.
- Method A (The Plastic Cinch): You can buy “raised bed corner brackets” or plastic cinch straps that wrap around the perimeter of the bed. These pull the sides inward and lock them in place.
- Method B (The Cross-Brace): If you are building a bed wider than 4 feet, you need a cross-brace in the middle. For a 4×8, you don’t strictly need it, but adding a simple 2×4 brace across the center of the bed (connecting the two long sides) will prevent bowing.
- Method C (Rebar): Drive 2-foot lengths of rebar into the ground on the outside of the bed, right up against the wood. Tie the wood to the rebar using galvanized wire. This anchors the bed against soil pressure.
Step 6: Site Preparation
Do not place your bed directly on grass. The grass will grow up into your bed, creating a massive weed problem.
- Leveling: Pick the flattest spot in your yard. If the ground is uneven, your bed will be uneven, and water will pool on one side. Dig a trench to level the area or use a shovel to scrape away high spots.
- Barrier: Lay down cardboard (tape removed) or 5-6 layers of newspaper directly on the ground before placing your bed. This will smother the grass and worms will eat the cardboard, creating a pathway for your roots to go into the subsoil.
Maintenance for Longevity
Even cedar will last longer with a little care.
- The Stain: If you want the wood to maintain its color, apply a non-toxic exterior stain or raw linseed oil. Do not use Thompson’s WaterSeal or similar petroleum-based sealers, as they are not safe for food crops.
- Winter Care: In winter, ensure the bed drains well. If water pools in the bed and freezes, it can crack the wood or pop your screws. This is rare with proper drainage, but worth checking.
- Reinforcement: Check the screws every year. If one backs out slightly, screw it back in tight.
Conclusion
Building a 4×8 raised bed is an investment in your food source. By choosing cedar or ground-contact lumber, using structural screws, and reinforcing against the weight of the soil, you are building a structure that will serve you for ten years or more.
Don’t skimp on the materials. A well-built bed might cost $50–$100 more upfront than a cheap one, but when you are harvesting tomatoes a decade from now without rebuilding a single board, you will be glad you invested in quality.
good information. thanks
that is nice
nice
nice work done
sdadada
dsda